Ooops! The flu bug bit me! I've been down for the count since Tuesday. I feel a bit human today, but I usually do feel better in the morning. Here is another 'Delightful Decorations' card, this time teamed up with the Holiday Lounge designer series paper (#115676) from the regular catalog. The cool thing about designer series papers is that I let the color and design determine the color ... View Post
Archives for October 2009

Delightful Decorations Trio of Ornaments
I absolutely LOVE when punches match a stamp set, don't you?! The Delighful Decorations stamp set shown here is a new holiday set in the Holiday Mini Catalog on Page 24. The matching punch is on Page 25. This was one of my August Christmas Card Club cards you can still order by mail here. Altogether the supplies used are: #116517 Delightful Decorations stamp set $21.95 #116794 ... View Post
Twick or Tweet Treat Box
This adorable treat holder is actually 'no more' as I type. I left it on my stamping table and looks like some kids got into it. My own kids know better, so I'm thinking neighbor kids... Anyway, good thing I have a photo and it was super easy to make anyway! The body of the box is the 'Bag With Scallops' (#114519) Sizzix XL Die without the sides attached and decorated with the Halloween ... View Post
Dashing into Gold!
I love this stamp!!! It is one of the awesome "Under $10" stamps on page 208 of the new catalog. And I have to resist the urge to set rhinestones in the swirls... (now why would I even *try* to resist?)! The ingredients of this card are: Dasher stamp (#116816, $8.95) Serene Snowflakes (Holiday Mini Catalog #115438, $20.95) Very Vanilla Cardstock (#101650, 40 sheets, ... View Post

Pop Up Cake Die
The Deal of the Week is amazing this week! I wish that I could WOW you with my own use of this awesome Sizzix die, but since I can't, I will WOW you with Karen Burniston's (the artist that designed this die for Sizzix). See all the 'Deals of the Week' here. Check out the awesome article and use of this die with all current Stampin' Up! product. While you are there, the article also shows ... View Post
Cardinal Christmas Card
I love birds and Cardinals are one of my favorites, especially for Christmas! This very easy card was made with the 'Merry Moments' Designer Series Paper (#115672) that I have had a LOT of fun with. And this was one of my quick Christmas Cards from my 'Christmas Card Class/Club' in September. The card design is a paper saver and a money saver... if you notice, the designer paper is 'inside' ... View Post
Dashing Dasher Christmas Card
This is most likely going to be my Christmas Card this year! And it took only one $8.95 stamp called 'Dasher' (#116816). This is another one of my Christmas Card Class/Club creations from last week's September class and I believe that there is only one spot left for my October Class if at all. You can see my August & September Christmas Card classes and download the supply list here. ... View Post
October Online Purchase Special
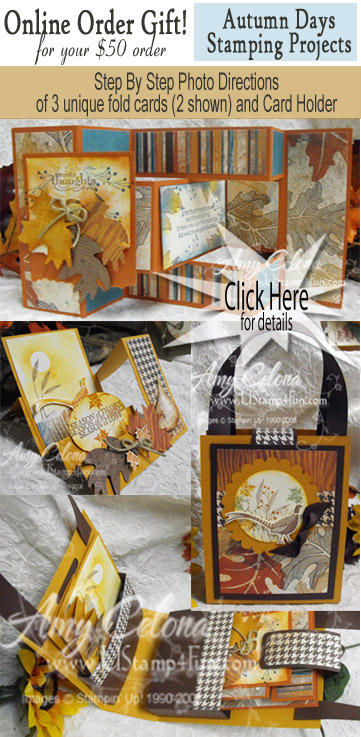
My Stamp Festival on Saturday was awesome! It has taken me until today of course to recover... and blog about it. I am making the festival project step-by-step directions available as my online buying gift this month. If you were one of my customers at the festival (or you spend $100) I have a different (or I mean an additional) fall projects PDF for you! Materials & Supply List for ... View Post
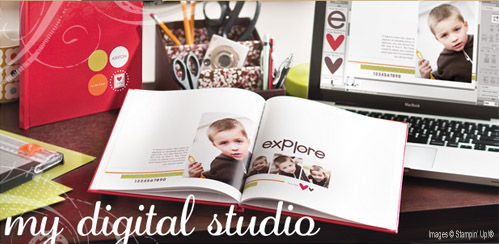
My Digital Studio is here!
Stampin' Up! has announced the availability of "My Digital Studio" digital scrapbooking product. I am very excited about this... now I just need the time to play with it! It is a tough confession to make that with all the Stampin' Up! products that I own, I do not really scrapbook. The few paper scrapbooks that I have made were labors of love (I am a perfectionist, so emphasis on 'labor') and ... View Post