 For the first time I have done a photo step-by-step on how to make these pins.
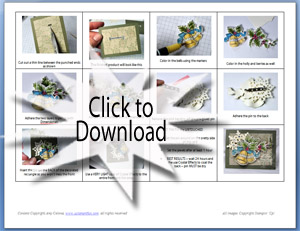
In the past I have done a video (seen here) which is about 20 minutes long, but it you need a ‘quicker fix’ feel free to download the step by step (click on the graphic below).
The bells and ‘holly & berry’ images are from the ‘Bells & Boughs‘ stamp set from Stampin’ Up!’s Holiday Mini Catalog which is only available for a limited time!
 The materials I used for this project include:
Four 2 ½ x 2 inch Vanilla cardstock (for stamping the bells)
Four 2 x 3 inch Vanilla cardstock (for stamping holly leaves)
Black StazOn (#101406)
Stampin’ Write Markers: Real Red, So Saffron, Marina Mist, Sahara Sand, Certainly Celery, Old Olive
3 ¼ x 2 ½ inch Artichoke cardstock
2 ¾ x 2 inch Designer paper ‘Deck the Halls’ #120810
Basic Rhinestone “Jewels” (#119246), Basic Pearls ‘Jewels’ (#119247)
12 x 2 inch Very Vanilla cardstock (for die cutting the snowflakes)
Sizzix Big Shot, Sizzix Snowflake Decorative Strip (#120901)
Decorative Strip Spacer Platform #113477
Decorative Strip cutting pads (#113479)
Sticky Strip (#104294)
OTHER:
Mod Podge, 1 ¼ inch pin backs, Rectangle punch, Sponge brushes

Amy, you are the “Queen” of pins…I remember from a waaaay back! As are all your projects, this one is just gorgeous! I love the way you thought to shape the bells and leaves…that just makes it into an art piece rather than a 2-dimensional paper craft! Thank you, too, for your fabulous instructions…for free! Much appreciated!
Chris in Calgary, AB Canada
You are too sweet, Chris! Thanks for taking a moment to leave feedback… have you tried making a pin?
This is gorgeous and your photos and directions are fabulous!!! Thanks so much.
Thank you, I hope you enjoy them! Make lots of pins!