
By The Tide Shabby Chic Lobster

By The Tide Stationery Box

Fresh Vintage Gift Candy Box
Bordering on Romance Card Directions

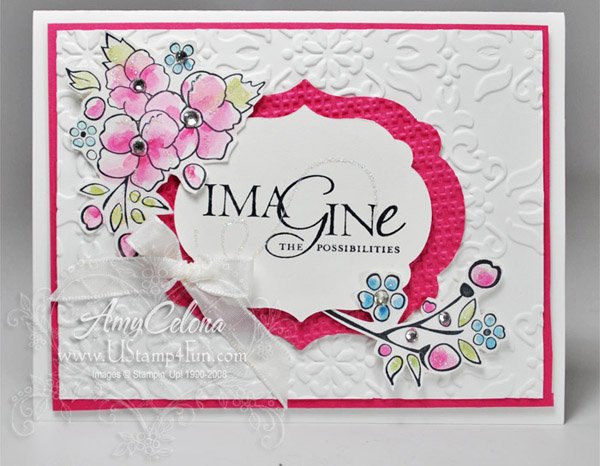
Bordering On Romance matching card and box

Window Box Candy Holder Photo Step by Step

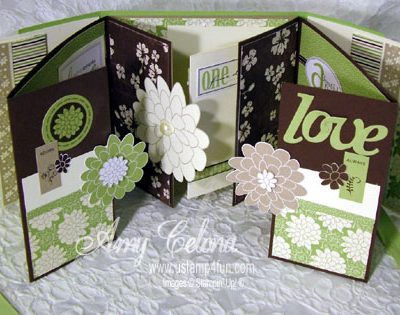
6×6 Fold Out Book Video & Instructions

Pines & Pointsettias Gift Card Holder

Christmas Lodge Stair Step Card

Nature Walk Butterfly Card

Stationery Box ‘Pocketbook’ downloadable template
- 1
- 2
- 3
- …
- 6
- Next Page »