This card was a serious challenge to photograph, but worth the effort. I made it back in August, and is featured in my August "Stamp-A-Stack of Stuff" class. Unfortunately I have since lost the original card (it was probably 'borrowed out' grrrr...). Doesn't the card center appear to float on the middle?! I now have my class outlines (supplies needed, finished ... View Post
Archives for November 2007
Elegant Holiday Card… with photo insert
This elegant card is made with Season of Joy which is available in the Holiday Mini Catalog, but only until November 30th! AND it was a card featured in my September "Stamp a Stack of Stuff" class which you can now purchase online (the photos, recipes and directions) now! The base card is Always Artichoke and the top layer is River Rock with Bravo Burgundy stamped and crimped, all ... View Post
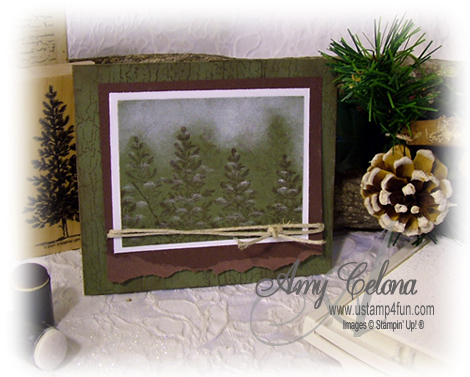
Lovely as a Snowy Tree
I absolutely love this card! I got the inspiration for this card in Chicago this past weekend from a card that I received from Mary Robin Nowack and this is one of the cards that will be featured at my 'Stamp a Stack' of stuff tomorrow evening (repeated Friday morning)! See my online Calendar for all the information... Mary's card was done with Vanilla crafter's ink and Vanilla coordinating ... View Post
Designer Paper Magic
This is an adorable 'coaster' calendar with altered 'jumbo clip' and matching 'pocketbook' which is actually a Junior Mints box covered with the 'Porcelain Prints' designer series paper which are part of the Designer Series SPECIAL this month! By the way, the covered coaster calendar with altered clip was inspiration from a gift from Trisha Wampler who gave me one with a post it note pad on it ... View Post