This is a great pull up card that is actually very easy to make! In anticipation of the millions of questions I will be getting, I have tutorial page you can download HERE. I am undertaking a project to merge my main site www.ustamp4fun.com with this blog. It will be wonderful and improved (or it will be painful and offline, LOL!). I have purchased a fabulous 'online magazine' style Wordpress ... View Post
Archives for October 2007
Creepy Crawly Halloween Projects
I had fun with these great Halloween projects and I just LOVE the Creepy Crawly Designer Series papers! These are two of the six "Stamp a Stack of Stuff' projects this month. I've seen altered "Pringle Cans', but I was impressed enough to want to make my own when I saw Valerie White's samples. I got the BOO box in my Convention 07 WOW swap (made by Terri Winkleman). I am thinking of making up ... View Post

Envelope “Pocket” Keeper
This is another envelope trick--probably the easiest one! I think the second photo (left) is clearer for details so I included it. I made this with Stampin' Up!'s® 'large white' envelope (#107291) and sealed it completely shut. I punch 'down' each side as far as I could (1 1/2 times) with the large Tag punch and the strip down the middle becomes the handle. You can put ... View Post
Holiday Pocketbook/Holiday Shopping List
This adorable pocketbook is copied from a WOW swap that I organized at Convention 07--one of my favorites is this one by Shaunna Hailey. It was also one of the projects at our Fall Stamp Festival (the only one not done with the featured set). Other than changing the stamping on the outside of the pocketbook, I stuck to her original design--I loved it that much! The pocketbook opens to a ... View Post
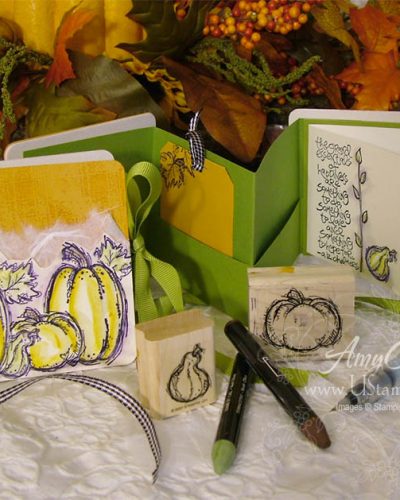
Coaster Accordion Book – Updated
UPDATED 10/9/07 - View step-by-step directions below... The inside is a piece of cardstock folded up 1/4 of the height to form a pocket and then fold it into 4 equal parts and glue it to inside two coasters (fig. 1) and then cover the back panel with a square to cover it (fig. 2) and then place a decorated panel on the back and add bookmark(s) (fig. 3). You say you missed our Team Stamp ... View Post