I wanted to share these holiday WOW cards I made last month.
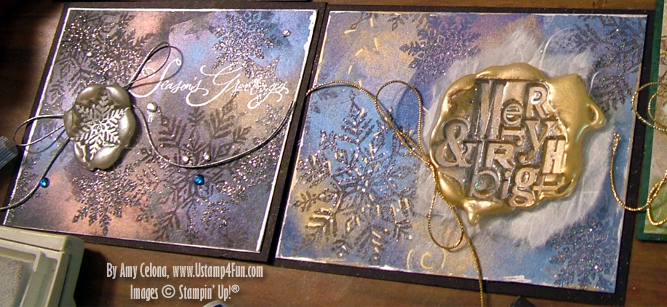
Check out the ‘faux’ sealing wax technique–using hot glue!
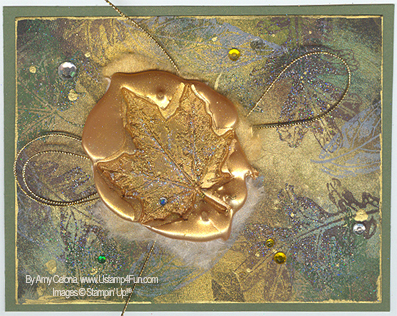
You’re seeing it right–the focal image is actually hot glue, stamped in, and dusted with PearlEx powders, not sealing wax!
While it is still warm you dust it with Pearl Ex powders… it’s too cool! Unlike real sealing wax it is fast, doesn’t require a heat source and it isn’t brittle. You can reheat it with a heat tool to “correct” the image also!
Step by Step instructions with photos below!
Time needed: 15 minutes
Step by Step creating faux sealing wax from hot glue is simple and each one should take less than 15 minutes.
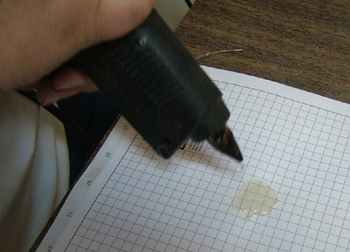
- Make a puddle of hot glue on the paper
Choose paper that isn’t too thin, it doesn’t have to be good as it will be peeled off.
- Prepare the stamp by covering it with Versamark, press it into the hot wax and leave it for ~3 minutes.
It is important that the stamp is treated with Versamark to ensure that it will release.

- Wait for it to cool significantly but not completely cool.
The glue will still be warm, but no longer malleable. You carefully peel the stamp off. If the stamped image loses any definition, you need to hold it down for a little longer.

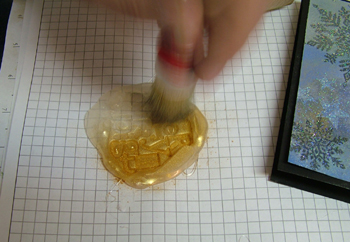
- Choose one or more PearlEx Powder colors and use a brush on the glue before it cools entirely.
The PearlEx needs the heat and the Versamark to adhere. Worst case you can spray it lightly with a fixative but you may lose shine.
- Carefully peel the glue coin off of the paper.
Purposely catch some of the paper as well to aid in adhering to wherever you will be attaching it to.

The backgrounds are done with the direct-to-paper technique (coming soon). I touched up the finished card with some rhinestones (gotta have glitter) and any remaining moisture from the crafter’s inks with holographic embossing powder.
The sets are Snowflakes, Alphabet Stew (“Merry & Bright”) and Many Merry Messages (“Seasons Greetings”) which is a new holiday greeting set this year. The Zig silver/gold painty pen touched up around the snowflakes (taking a photo on a slant catches more of the glitz!) and you can see the Hologram Highlights embossing powder.
OK..now I am officially in panic mode that I am partaking in your WOW swaps at Leadership. These are stunning! I am going to review the ATC’s I have started and rethink them …OMG..what have I gotten myself into ???? LOL
You crack me up! I did do this type of card as a WOW card a few years ago, but not in this one this year. These were scans I have wanted to put up and tutorials I have wanted to put on my website for awhile.
Thank you for sharing such great work. You are really an artist.
Just stunning, thanks for sharing. Now another reason I need to invest in more craft pads! 🙂
Well, that really is my evil master plan (heh, heh, heh…)