
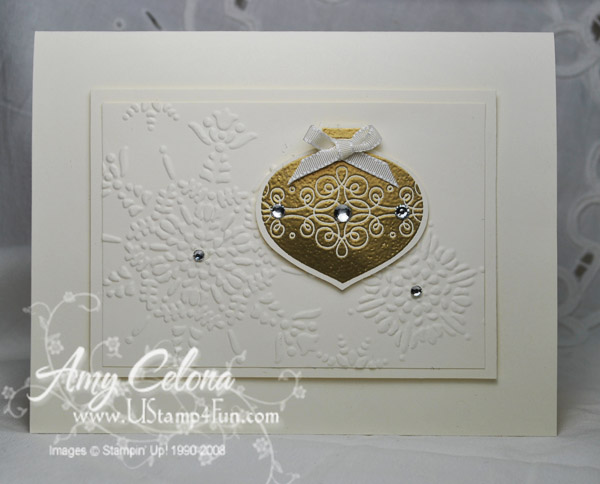
Ornaments Keepsake Christmas Card

Pop Up ‘Look Here’ blast from the past!

Pines & Pointsettias Gift Card Holder

Pines & Pointsettias Christmas card

Stitched Stockings 12×12 Scrapbook Layout

Christmas Lodge Stair Step Card
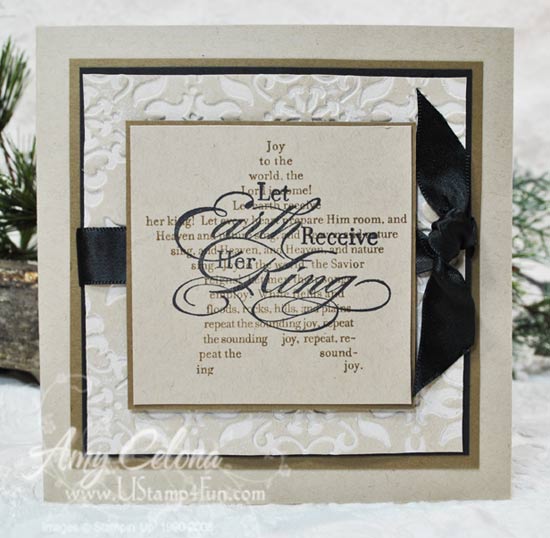
The Sounding Joy Christmas Card
Beautiful Season Christmas Card

2011 Holiday Mini Catalog is here!
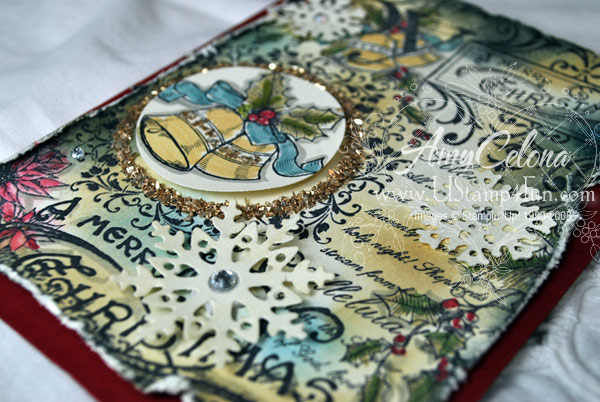
Merry Christmas & Vintage Distressed Holiday Card
Tags Til Christmas Simple Ornament card
- 1
- 2
- 3
- …
- 5
- Next Page »